
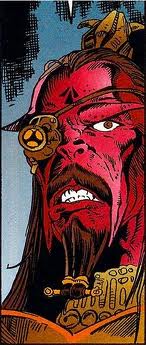
Horak-mul was a Sith Lord who sided with Ludo Kressh after the death of Marka Ragnos. The prosethic he used as replacement for his right eye was a Sith artifact.

Biography
Horak-mul was a Sith Lord in the years leading up to the Great Hyperspace War, and was native to a region in the galaxy known as Sith Space. In 5,000 BBY, longtime Dark Lord of the Sith Marka Ragnos died after a century of iron-handed rule; two Sith Lords, Naga Sadow and Ludo Kressh stepped in to try and fill the power vacuum. Horak-mul supported Kressh, the more conservative Sith Lord, over Sadow, an ambitious Lord who wanted to expand the Sith Empire’s boundaries.
During the Funeral of Marka Ragnos, a ship coming from the Galactic Republic, the Starbreaker 12, landed in the Valley of the Dark Lords, and its crew, two Humans, Gav and Jori Daragon, were detained. A great debate began regarding the Humans’ fate; Kressh wanted to execute them immediately, while Sadow wanted to keep them alive, believing that they had important information. Finally, Sadow staged a Republic attack on the Sith Empire, riling the Sith into a frenzy; following this attack, during a meeting on the planet Ziost, Sadow declared himself the new Dark Lord of the Sith. Horak-mul watched on in silence, as the majority of other Sith Lords voiced their support of Sadow. An outraged Kressh called his remaining supporters to rally around him, and Horak-mul left the meeting with the Sith Lord.

After the meeting, Naga Sadow, now having been officially crowned the Dark Lord of the Sith, staged a Republic attack on the Starbreaker 12’s hangar on Ziost and made off with the ship. Ludo Kressh, upon viewing the scene, found Naga Sadow’s emblem amidst the carnage. Shocked and angry, Kressh summoned Horak-mul and another of his supporters, Dor Gal-ram, to his private world of Rhelg to confer on these developments. Here, Kressh informed them of Sadow’s complicity in the attack, and ordered Horak-mul and Gal-ram to gather their fleets, as to stage a surprise attack on Sadow. Horak-mul did as he was commanded, massing his forces and joining Kressh’s and Gal-ram’s fleets at Khar Delba, the site of Sadow’s citadel. They commenced their attack, launching a rain of fire onto Sadow’s base. Horak-mul exclaimed that victory was inevitable; however, Sadow had another trick up his sleeve. Sadow had hidden his fleet in orbit around Khar Delba’s moon Khar Shian, and the fleet attacked and caught Horak-mul and his allies off-guard. Sadow then moved on to the next stage of his plan; ordering the crew of Horak-mul’s ship, in reality double agents, to kill him. The Massassi crew attacked Horak-mul while he was distracted by the battle and caught him unawares, and murdered him. Dor Gal-ram was killed by the same treachery, and Kressh was defeated in the Battle of Khar Delba. The artificial eye of Horak-mul was eventually lost, but was retrieved in 3,963 BBY, over a thousand years after Horak-mul’s death, by Jedi Covenant Shadow Celeste Morne.
Horak-mul first appeared in Tales of the Jedi: The Golden Age of the Sith ( get it at Amazon for 1.99$), a story arc of the Star Wars: Tales of the Jedi comic series, which was written by Kevin J. Anderson and released in 1996. In these appearances, Horak-mul was illustrated by Dario Carrasco, Jr. He was later mentioned in Knights of the Old Republic 25: Vector, Part 1. In 2008 ( Get it here for 9,95$), Horak-mul received an entry in The Complete Star Wars Encyclopedia ( Get it on Amazon) .
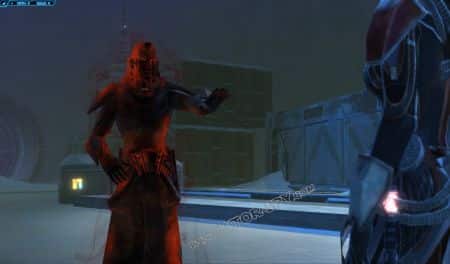
If the Sith Inquisitor chooses to free the ghosts at the end of Act III of Star Wars: The Old Republic, Horak-mul refuses to depart and stays on with the Inquisitor. However, if the Inquisitor was more light sided, he/she would have the option to let the ghosts pass on.
( If you order via any of our above affiliate links, you help keep us online. THANK YOU!)