The wave of artificial intelligence has crashed over the world of content creation, promising to turn our static pictures into captivating videos with just a few clicks. For many beginners, however, the reality is often a mix of confusion and frustration. Faced with complex interfaces, technical jargon, and a seemingly endless array of settings, many people give up before they ever unlock the true potential of these tools.
This article is here to bridge that gap. We’re going to dive into a simple and accessible photo to video AI technology that doesn’t require any video editing experience or a big budget. This post will serve as your clear roadmap, helping you avoid common pitfalls and efficiently transform your photos into dynamic videos from day one, so your creativity is no longer limited to a single frame.
Why AI Tools Can Be Intimidating for Beginners
Stepping into the world of AI generation tools can feel like walking into a futuristic cockpit filled with flashing buttons and unknown switches. This “paradox of choice” is a primary reason beginners feel overwhelmed. When a tool offers too many customization options, users are left not knowing where to even begin.
Another common hurdle is the gap between expectation and reality. Social media is flooded with stunning, AI-generated video clips, which can lead people to believe that simply typing “make my photo move” will instantly produce a cinematic result. When the first output doesn’t quite measure up, it’s easy to feel discouraged.
Finally, technical terms create an invisible wall. Words like “model,” “parameters,” and “seed value” can feel overwhelming for creators without a technical background. Fortunately, a new generation of Image to Video AI tools is working to simplify all of this, packaging complex technology behind intuitive controls.
Getting Started the Easy Way: Turn Your Photo into a Video in Four Steps
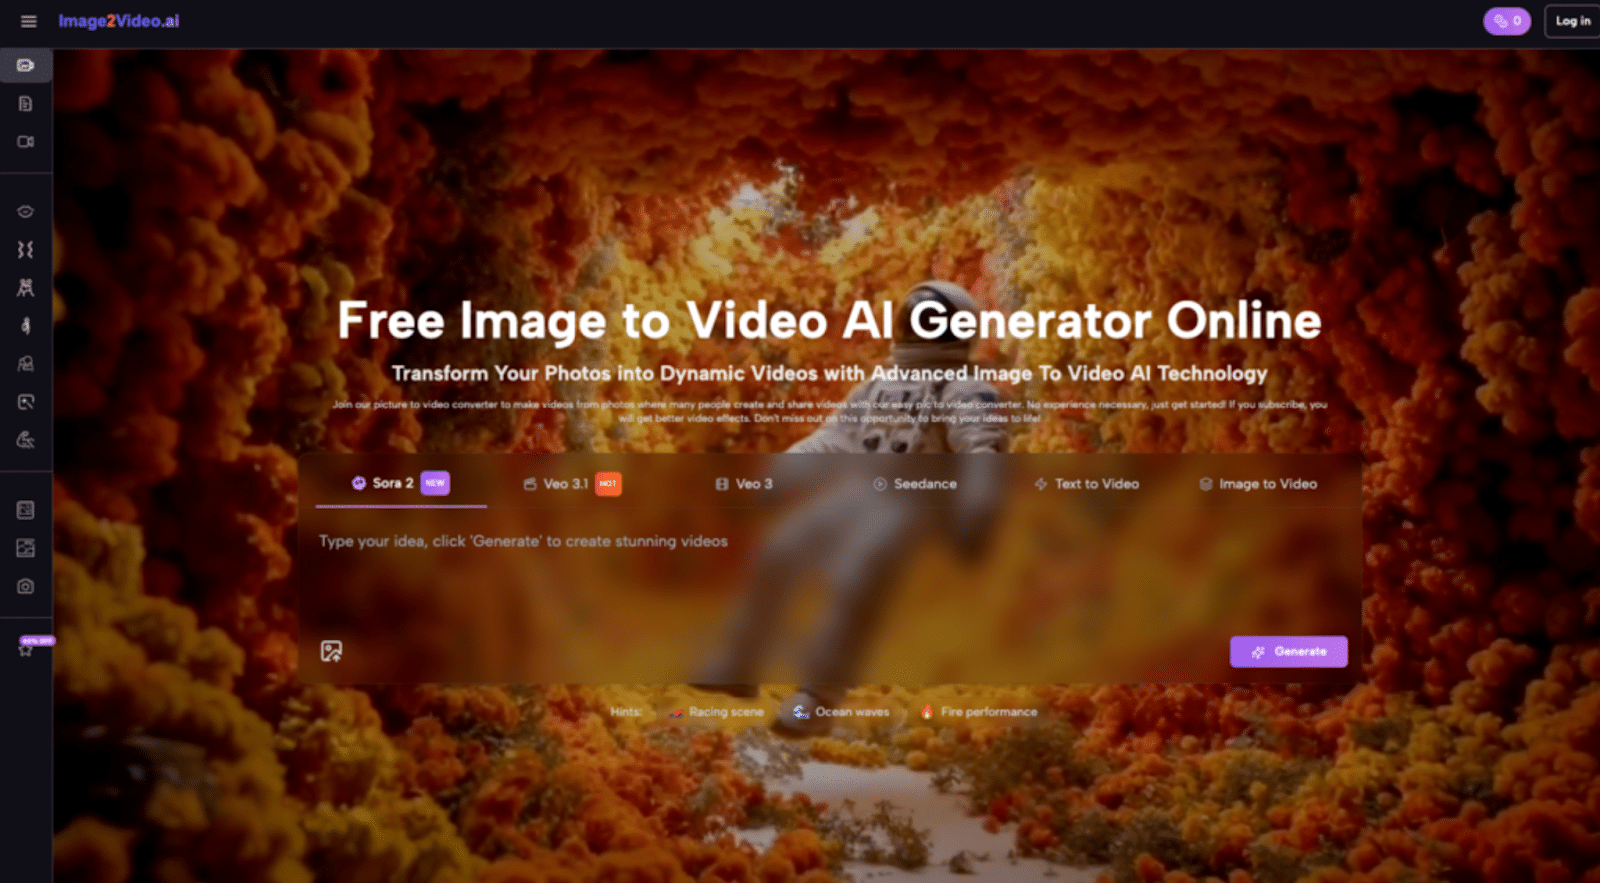
The good news is that you don’t need to be a tech expert to start using Image to Video AI. Many modern platforms, like the one we’re exploring today, have streamlined the process into just a few simple steps. Here’s a quick-start guide on how to transform your picture into a video.
Step 1: Choose and Upload Your Image
Everything begins with an image. The first thing you need to do is select a photo you want to bring to life and upload it. Most platforms support common formats like JPEG and PNG, making it easy to grab a file from your phone’s camera roll or computer’s hard drive. Choosing a clear image with a well-defined subject usually yields the best results.
Step 2: Enter Your Text Prompt
This is where your creativity comes into play. You need to describe the effect you want to see in natural language. This is the magic of Image to video AI technology—it understands your written instructions. You don’t have to learn complex code or commands; just describe the scene in your head as if you were talking to a designer. For example, you could write, “make the clouds drift slowly across the sky” or “slowly zoom in on the person’s face.”
Step 3: Wait for the Image to Video AI to Process
After submitting your image and prompt, the AI gets to work. You’ll typically see a “processing” status indicator. According to the official instructions, this process usually takes only about 5 minutes. During this time, the AI is analyzing your image and instructions, then applying intelligent animations, transitions, and effects to make your static photo to video conversion a reality.
Step 4: Check and Share Your Video
Once the status changes to “Completed,” your video is ready. You can download the MP4 file directly. This format is compatible with virtually all devices and social media platforms. Now, you can share this unique piece of content generated by Image to Video AI on your Instagram, TikTok, or YouTube channel.
Avoiding Common Mistakes: Practical Tips to Maximize Your Image to Video AI Results
Simply knowing the steps isn’t enough; using the tool well is about avoiding the mistakes most beginners make. Here are some tips and lessons I’ve learned as an early user.
- Mistake #1: Being Too Vague with Prompts
- The Problem: An instruction like “make it move” is too ambiguous for the AI to interpret your intent accurately, often leading to random and unsatisfying results.
- The Fix: Be as specific as possible. Instead of “make it interesting,” try “make the person blink and smile, with the stars in the background twinkling.” The more detail you provide, the better the Image to Video AI can generate the outcome you envision.
- The Problem: An instruction like “make it move” is too ambiguous for the AI to interpret your intent accurately, often leading to random and unsatisfying results.
- Mistake #2: Using Low-Quality Source Images
- The Problem: If you start with a low-resolution, blurry, or poorly lit image, the final video quality will suffer. The AI can’t create details that weren’t there to begin with.
- The Fix: Start with a high-quality, clear source image. A photo to video project that begins with a sharp, colorful picture has a much higher chance of success than one that starts with a fuzzy one.
- The Problem: If you start with a low-resolution, blurry, or poorly lit image, the final video quality will suffer. The AI can’t create details that weren’t there to begin with.
- Mistake #3: Expecting Perfection on the First Try
- The Problem: Many newcomers get discouraged when their first generated video isn’t perfect.
- My Experience: When I first started using these kinds of tools, I also felt frustrated when the first version wasn’t what I had in mind. I learned to treat the first generation as a “draft,” not the “final cut.” By slightly tweaking the prompt or trying a different image, I often got a completely different and much better result. Think of the AI as a creative partner you iterate with to refine an idea.
- The Problem: Many newcomers get discouraged when their first generated video isn’t perfect.
The Real Advantage of AI: Cost-Effective, Rapid Content Creation
For individual creators and small businesses, the biggest motivation for adopting Image to Video AI technology is its unparalleled cost-effectiveness and efficiency.
In the past, creating even a simple animated image ad could require purchasing expensive video editing software (like Adobe After Effects) or spending time and money to find a suitable freelancer. Today, a web-based image to video tool can handle most of the basic work, dramatically lowering the barrier to entry and financial overhead.
Speed is the other game-changer. A skilled video editor might take hours to add keyframe animations and effects to a single image. Now, the entire process, from uploading a photo to generating a 5-second short video, can be completed in minutes. This means you can prepare a week’s worth of video content for your social media posts in a single afternoon.
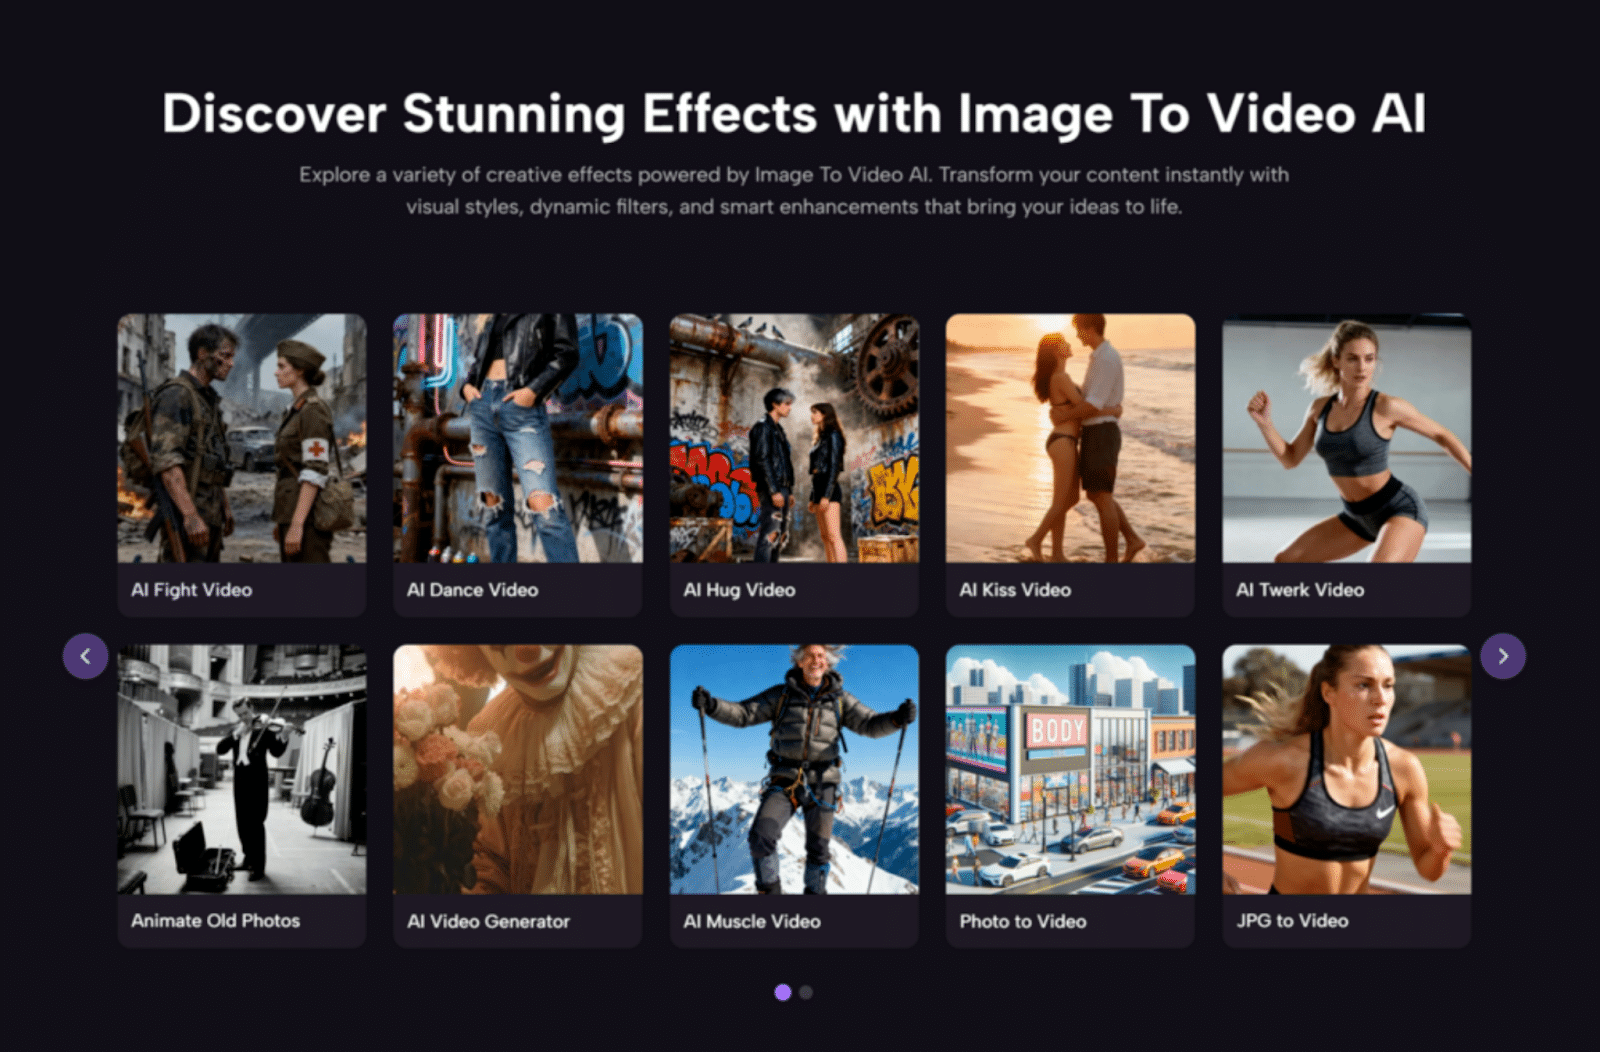
Real-World Applications: How Image to Video AI Empowers Different Roles
The use cases for this kind of image to video converter are incredibly broad, providing value for almost anyone who needs visual content.
- For Marketers & Businesses: Transform static product photos into compelling video ads, or batch-produce dynamic assets for social media marketing campaigns.
- For Content Creators & YouTubers: Turn a gallery of travel photos into a lively vlog segment, or create animated, eye-catching thumbnails for videos.
- For Educators & Trainers: Convert static infographics and diagrams into animated video lessons, making complex concepts easier to understand.
- For Social Media Managers: Quickly turn image content into short videos perfect for Instagram Stories or TikTok, keeping social feeds active and fresh.
- For Personal Projects: Create heartwarming commemorative videos from old family photos or design a unique animated album for an anniversary.
Frequently Asked Questions (FAQ)
- What can I use photo to video online for?
Its uses are incredibly versatile. You can create marketing videos, social media content, product showcases, educational materials, and personal memory videos. The Image to Video AI system works like a fully automated video editor—just upload your photos and type your instructions.
- Is my data secure, and is it free to use?
According to its documentation, the platform uses industry-standard encryption to protect your data. It offers both free and premium plans for users to choose from. Best of all, the entire platform is web-based, so no software download is required.
- Can I use this Image to Video AI on my smartphone?
Yes. The platform is designed as a mobile-responsive web app that works smoothly on both iOS and Android devices. You don’t need to install any app; you can complete the entire image-to-video conversion right from your mobile browser.
- What file formats are supported?
For input, it supports common image formats like JPEG and PNG. All generated videos are output in MP4 format, which is a universal standard that ensures compatibility across all devices and platforms.
Conclusion
The core value of an Image to Video AI tool like Image2Video isn’t to replace human creativity, but to empower it. It dramatically lowers the technical and financial barriers to video creation, allowing more creators and small business owners with great ideas—but without professional skills—to easily produce engaging dynamic content.
Stop letting complex software and high costs hold you back. Start today by choosing one of your favorite photos, writing a simple description, and witnessing firsthand how your static image can blossom with new life. The journey from static to story has never been easier.
Author
Related Posts

Andor Writer Dan Gilroy Reveals the Historic Roots Behind Mon Mothma’s Senate Speech-
Star Wars: Starfighter Aims to Recapture the Joy of the Original Films, Says Screenwriter -
Let’s Talk About Star Wars Jedi 3 Release Rumors — And Why It’s Too Early -
STAR WARS: STARFIGHTER Will Not Feature Any Legacy Characters, Says Screenwriter


-
Rian Johnson Says He Wants New Star Wars Stories Following Kathleen Kennedy’s Exit -
Kelly Marie Tran Calls Kathleen Kennedy’s Exit From Lucasfilm “Such a Loss” -
Diablo 4 Runes and Endgame Progression: How Players Optimize Power in Modern Sanctuary 
Star Wars Outlaws: Low Red Moon Offers a First Listen with Exclusive Audio Excerpt