Don’t forget to check out constantly growing list of guides for Star Wars: The old republic
The Esseles is the very first Flashpoint for the Republic faction and you’ll enter it as soon as you leave the prologue planet. You’ll be asked to board the transport ship the Esseles headed for the capital of Coruscant. Players must be at least a level 10 before you are allowed to enter the transport.
While you can go this instance alone, it’s more beneficial if you have at least two players and your companions. Going it alone can be difficult and you will miss the opportunity to fight a bonus boss. It also helps if both players have chosen their advanced class and if one of you is a healer.
This is a story based Flashpoint so there’s many cutscenes and dialogue that will earn you social points and there are several bonus missions to complete. You’ll also have to decide the fate of the passengers. Letting them live will earn you 150 points for the LightSide and letting them die will earn you points for the DarkSide. It’s your choice but choose wisely because this will set the tone for the rest of the game.
Enter the Flashpoint
To enter the Flashpoint, you need to go to the Coruscant Departures elevator to the south and talk to the Priority Transport Officer to pick up the mission. If you already have it, you can simply go through the purple wall and you’ll be at the ship.
Follow the icons to advance the mission. You’ll talk to Twi’lek and then take the elevator to the Command Deck where you’ll talk to First Office Haken on the bridge. On your way to the elevator, you’ll run into two elite Rewired Power Droids. Try to control one and focus the other.
Next, go back the way you came and turn right down the hallway to go to the Docking Level Elevator where you’ll encounter several normal Imperial mobs. When you attack the first group, three more will appear but they will spawn near an explosive container. Blow it up and it will kill them all at once. Head to the elevator and kill four more normal Imperials. Once you reach the Docking Level, you’ll talk to Commander Narlock and the boss fights will begin.
First Boss: Lieutenant Isric
After talking to Commander Narlock, the first boss called Lieutenant Isric will appear on the west side. This is a Champion boss that can be hard to kill but you will have some help from Narlock and a few Esseles Security Guards. Avoid using movement impairing or incapacitation on this boss or any of the others because it doesn’t have any effect on them.
When Isric gets low on health, a few Imperial Boarders will spawn and come out in groups of three. They are pretty easy to kill if you take them out as they spawn. As soon as you kill the boss, pick up the loot and go talk to Commander Narlock who is behind you celebrating.
First Bonus Mission: Find Chief Engineer Salen
Your first bonus mission is to seek out Chief Engineer Salen, so go south to the Engineering Deck Elevator. When you reach the big hallway leading to the elevator, a vessel will hit the ship and three droids will come in through the hole. Then two more vessels will hit in front of you letting more droids in for you to fight.
When you go around the corner, you need to attack the two droids there and then a very strong Imperial Slicer Droid will appear. Kill him and the three droids in front of the elevator and then you can use it to go to the Engineering Deck.
Once you reach the Engineering Deck, a group of normal mobs will greet you. Kill them and click on the Communications Console on the door. This will spark the conversation in which you need to decide the fate of the engineers. If you choose the LightSide option, then you’ll need to complete an extra task. If you choose the DarkSide, you’ll move on to the second bonus mission.
LightSide Option Only: Deactivate Secondary Conduits
After making the choice for the LightSide, you’ll need to deactivate the secondary Conduit A, B and C. Head in either direction but be prepared to fight three or four normal mobs at each conduit and a very strong Imperial Slicer Droid. Kill off the normal droids first, engage the Slicer and then disable the conduit one at a time.
At conduit B, there should be a chest and a lore object so be sure to look for this. After disabling all three conduits, Asara will tell you to take care of the auxiliary power, which will lead you to the next bonus mission.
Second Bonus Mission: Defeat 8 Mandalorian Commandos
For your second bonus mission you’ll need to kill eight Mandalorian commandos. Go back to the elevators and use the one on the right to go to the Port Hanger Deck. You will run into lots of Mandalorians along the way and one very strong Mandalorian Commando that you’ll need to kill. Once you have defeated him, your bonus mission begins.
Continue on to the Port Hanger Deck but be ready to fight another normal mobs group and a commando along the way. When you get to the hanger, you will see lots of Mandalorian Commandos so you can continue to take them out until you have killed the eight you need for the mission. You will also run across one or two chests in this area, so look for these.
When you reach the Command Deck, there will be more of the normal mobs so kill them and head toward the Bridge Door Controls. Here, you’ll face two very strong Mandalorians that you should engage separately. Once you take care of them, you can click on the Bridge Door Controls and the second boss fight will begin.
Second Boss: Ironfist
Ironfist is a tough ranged boss that has Missile Salvo ability, which does a lot of damage to everyone in your group. While he is activating it, he won’t receive any damage no matter what you throw at him so save your energy until he is through. He also has a Headshot ability that can do a lot of damage.
When Ironfist gets down to about 50 percent health, he’ll summon three of the normal mobs to help him out. You’ll need to take them out and then focus back on the boss until you finish him off.
After beating the second boss, you’ll need to go over the bridge heading back to the elevators and push the bottom for the one on the right. At this time, Haken will start up a conversation with you again. He will ask you a question that will set up a LightSide, DarkSide choice for later.
It doesn’t matter what you tell him now because you still get to choose later so just give him an answer and click the elevator button again. This time you will be able to board the Emperor’s shuttle and move on the third bonus mission.
Third Bonus Mission: Sabotage the Power Station- Stage One
This bonus mission is in two stages. During the first stage, you’ll need to defeat 30 Imperials and in the second stage, you’ll need to defeat 40 Imperials. After boarding the shuttle, go through the big doors and you’ll be greeted by a group of normal mobs and an elite Dreadnaught Battledroid. After killing the first three droids, the first stage of your bonus mission will begin, in which you need to kill the 30 Imperials.
Attacking the Imperial Security Probes along the way usually makes three normal mobs appear. When they come out in a room with explosives, just blow them up. When you reach the elevator, go to the Engineering Deck. You will see a lot of Imperials here along with Imperial Security Probes and elite Dreadnaught Battledroids. Look behind the first Battledroid for a lore object and a chest. At some point, while you are fighting the mobs on the Engineering Deck (when you kill 30 Imperials) the mission will update and go to stage two.
Third Bonus Mission: Sabotage the Power Station- Stage Two
As you enter stage two, simply continue fighting and killing the Imperials because now, you need to take out 40 more. Make your way up the stairs, kill the mobs blocking the controls and use it to begin the conversations that will advance the Flashpoint.
At this point, you’ll need to head towards the Tractor Beam while you continue defeating the 40 Imperials. You’ll encounter three more Dreadnaught Battledroids and in the room where two of them attack at the same time, look for another chest. Next, go up the ramp to the Power Core Level and the mission will update telling you to Slice the Power Consoles.
One console is to your left and the other is on your right. You’ll need to kill the droids before you click on the consoles because as soon as one is activated, a timer will start. This will give you a “debuff” to use on the Power Droid you’ll be facing next.
Go up the ramp leading to the Power Core and you’ll see the ISS-7 Guardian Battledroid. Don’t fall off the platform or you’ll die instantly. Watch out for his Head Smash that will knock you back hard. After taking out ISS-7, you can click on the Tractor Beam Controls.
If you activated both of the Power Consoles, you will have the opportunity to fight an ISS-994 Power Droid, who is very tough to beat. Use ranged attacks when you can because if you are near him, he will do lot of damage.
After killing the droid, you need to head south and look for the elevator. Kill the three mobs and take the elevator to the Detention Level. Fight your way to the Waste Collection area and drop down the Garbage Masher, where you’ll find a chest. Go up the ramp and use your map and the icons to find Asara again. At the Hanger Door Controls, you’ll need to fight the five normal mobs and then click the controls to start the conversation that takes you to the last boss fight.
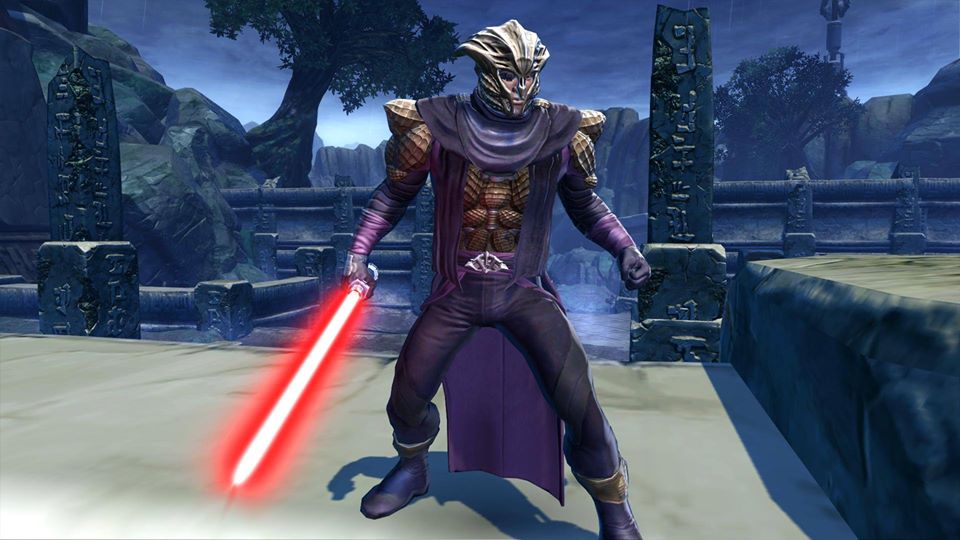
Third Boss: Vokk
The third and final boss is Vokk and he will be accompanied by three normal mobs. Kill them first and then concentrate on the boss. Vokk uses a Double Saber Toss that will knock you back and his other ability is Drain Essence, which he uses to channel DoT that does a lot of damage, so avoid the purple shadows.
After killing Vokk, look for Asara near the shuttle. Go over and talk to her. You will have another opportunity to choose between the LightSide and DarkSide points. If you choose the LightSide, you can say, “Let’s go” and you’ll receive 100 points. If you want the DarkSide points say, “We need to talk, Asara.” With this option, you have to decide if you want to save Asara or leave her there to the Imperials. After making your decision, take the shuttle back to the Esseles and look for Haken.
Take the elevator to the Command Deck and Haken will be at the windows. Plot the course for the ship using the Navigation Terminal and continue your journey to Coruscant. You have completed the first Republic faction Flashpoint.
Don’t forget to check out constantly growing list of guides for Star Wars: The old republic
FAQ for SWTOR Flashpoint Guide: The Esseles
What is The Esseles Flashpoint?
The Esseles is an early-game Flashpoint in Star Wars: The Old Republic (SWTOR) designed for Republic players. It takes place aboard the Republic transport ship Esseles, where players must defend the ship from an Imperial attack led by the Sith Lord, Darth Angral’s apprentice.
What level is required to access The Esseles?
The Esseles is available for players starting at level 10. It is intended for groups of 2-4 players, and the difficulty scales with the player’s level when accessed through the Group Finder.
How do I start The Esseles Flashpoint?
To start The Esseles Flashpoint:
- Group Finder: Use the Group Finder tool (default key “P”) to queue for The Esseles.
- Mission Terminal: Pick up the mission from the Flashpoint terminal located on the Republic Fleet.
- Direct Entry: Board the Esseles from the Republic Fleet, which is docked in the Carrick Station.
What are the main objectives in The Esseles?
The primary objectives include:
- Defending the ship: Repel the Imperial boarders and protect the crew.
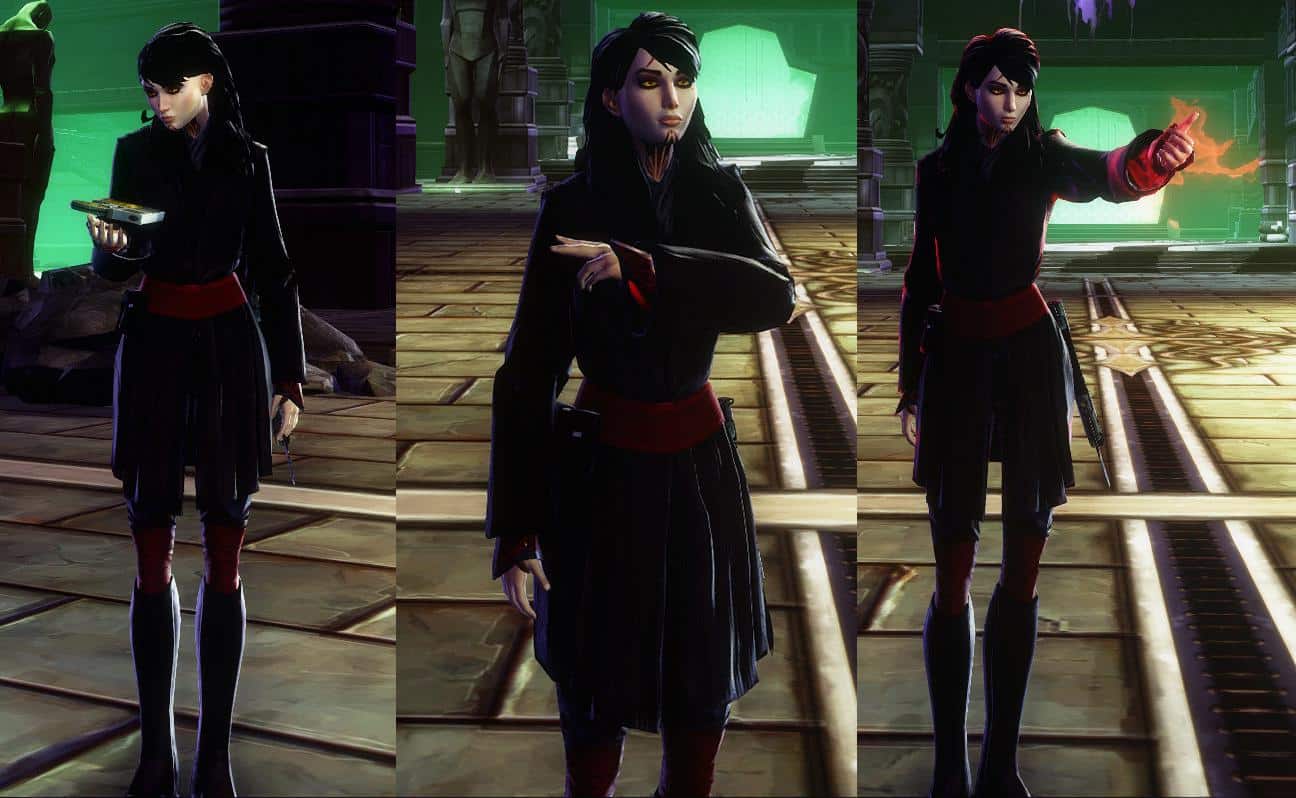
- Rescue missions: Save key personnel like Ambassador Vyn Asara.
- Defeating Bosses: Overcome several bosses, each with unique mechanics.
- Final Confrontation: Face the final boss, Ironfist, and ensure the ship’s safety.
Who are the key bosses in The Esseles?
- Lieutenant Isric: An Imperial officer who uses grenades and calls for reinforcements.
- ISS-7 Guardian Battle Droid: A heavily armed droid that uses AoE attacks.
- Vokk: A Trandoshan bounty hunter who deals high melee damage.
- Ironfist: The final boss, a Mandalorian who employs powerful AoE and stun attacks.
What strategies should be used for the bosses in The Esseles?
- Lieutenant Isric:
- Interrupt his grenade throws and take out reinforcements quickly.
- Spread out to minimize AoE damage.
- ISS-7 Guardian Battle Droid:
- Avoid standing in its AoE attack areas.
- Focus on damaging the droid while managing its adds.
- Vokk:
- Use crowd control abilities to manage his high melee damage.
- Avoid his frontal attacks and keep moving to reduce damage taken.
- Ironfist:
- Interrupt his special abilities and spread out to avoid group-wide damage.
- Be prepared for his stun attacks and coordinate defensive cooldowns.
Are there any special mechanics to be aware of?
- Security Systems: Deactivate security systems to progress through the Flashpoint.
- Environmental Hazards: Be mindful of traps and hazards within the ship that can deal significant damage.
- Timed Objectives: Some sections may have timed elements requiring quick action and coordination.
What are the rewards for completing The Esseles?
Completing The Esseles rewards players with:
- Experience points.
- Credits.
- Gear appropriate to your level.
- Daily and weekly commendations if completed through the Group Finder.
How can I prepare for The Esseles?
- Gear Up: Ensure your gear is up to date for your level.
- Medpacs and Stims: Carry medpacs and stims to boost performance in combat.
- Group Coordination: Communicate with your group to manage boss mechanics and timed objectives effectively.
Are there any achievements associated with The Esseles?
Yes, completing The Esseles can earn you several achievements, including:
- Esseles Conqueror: For defeating all the bosses.
- Esseles Hero: For completing the Flashpoint multiple times.
- Speed Run: For completing the Flashpoint within a certain time limit.